Greek Bouzouki Construction Blog
This is my Greek Bouzouki Construction Blog. I will be posting pictures and an explanation of how I design and make my instruments. I will also be covering other Greek bouzouki topics related to purchase, proper set up, and playing accessories. Please stop by often, and feel free to ask me any questions you may have.

Archive for August, 2008

Making the Bridge

Wednesday, August 20th, 2008
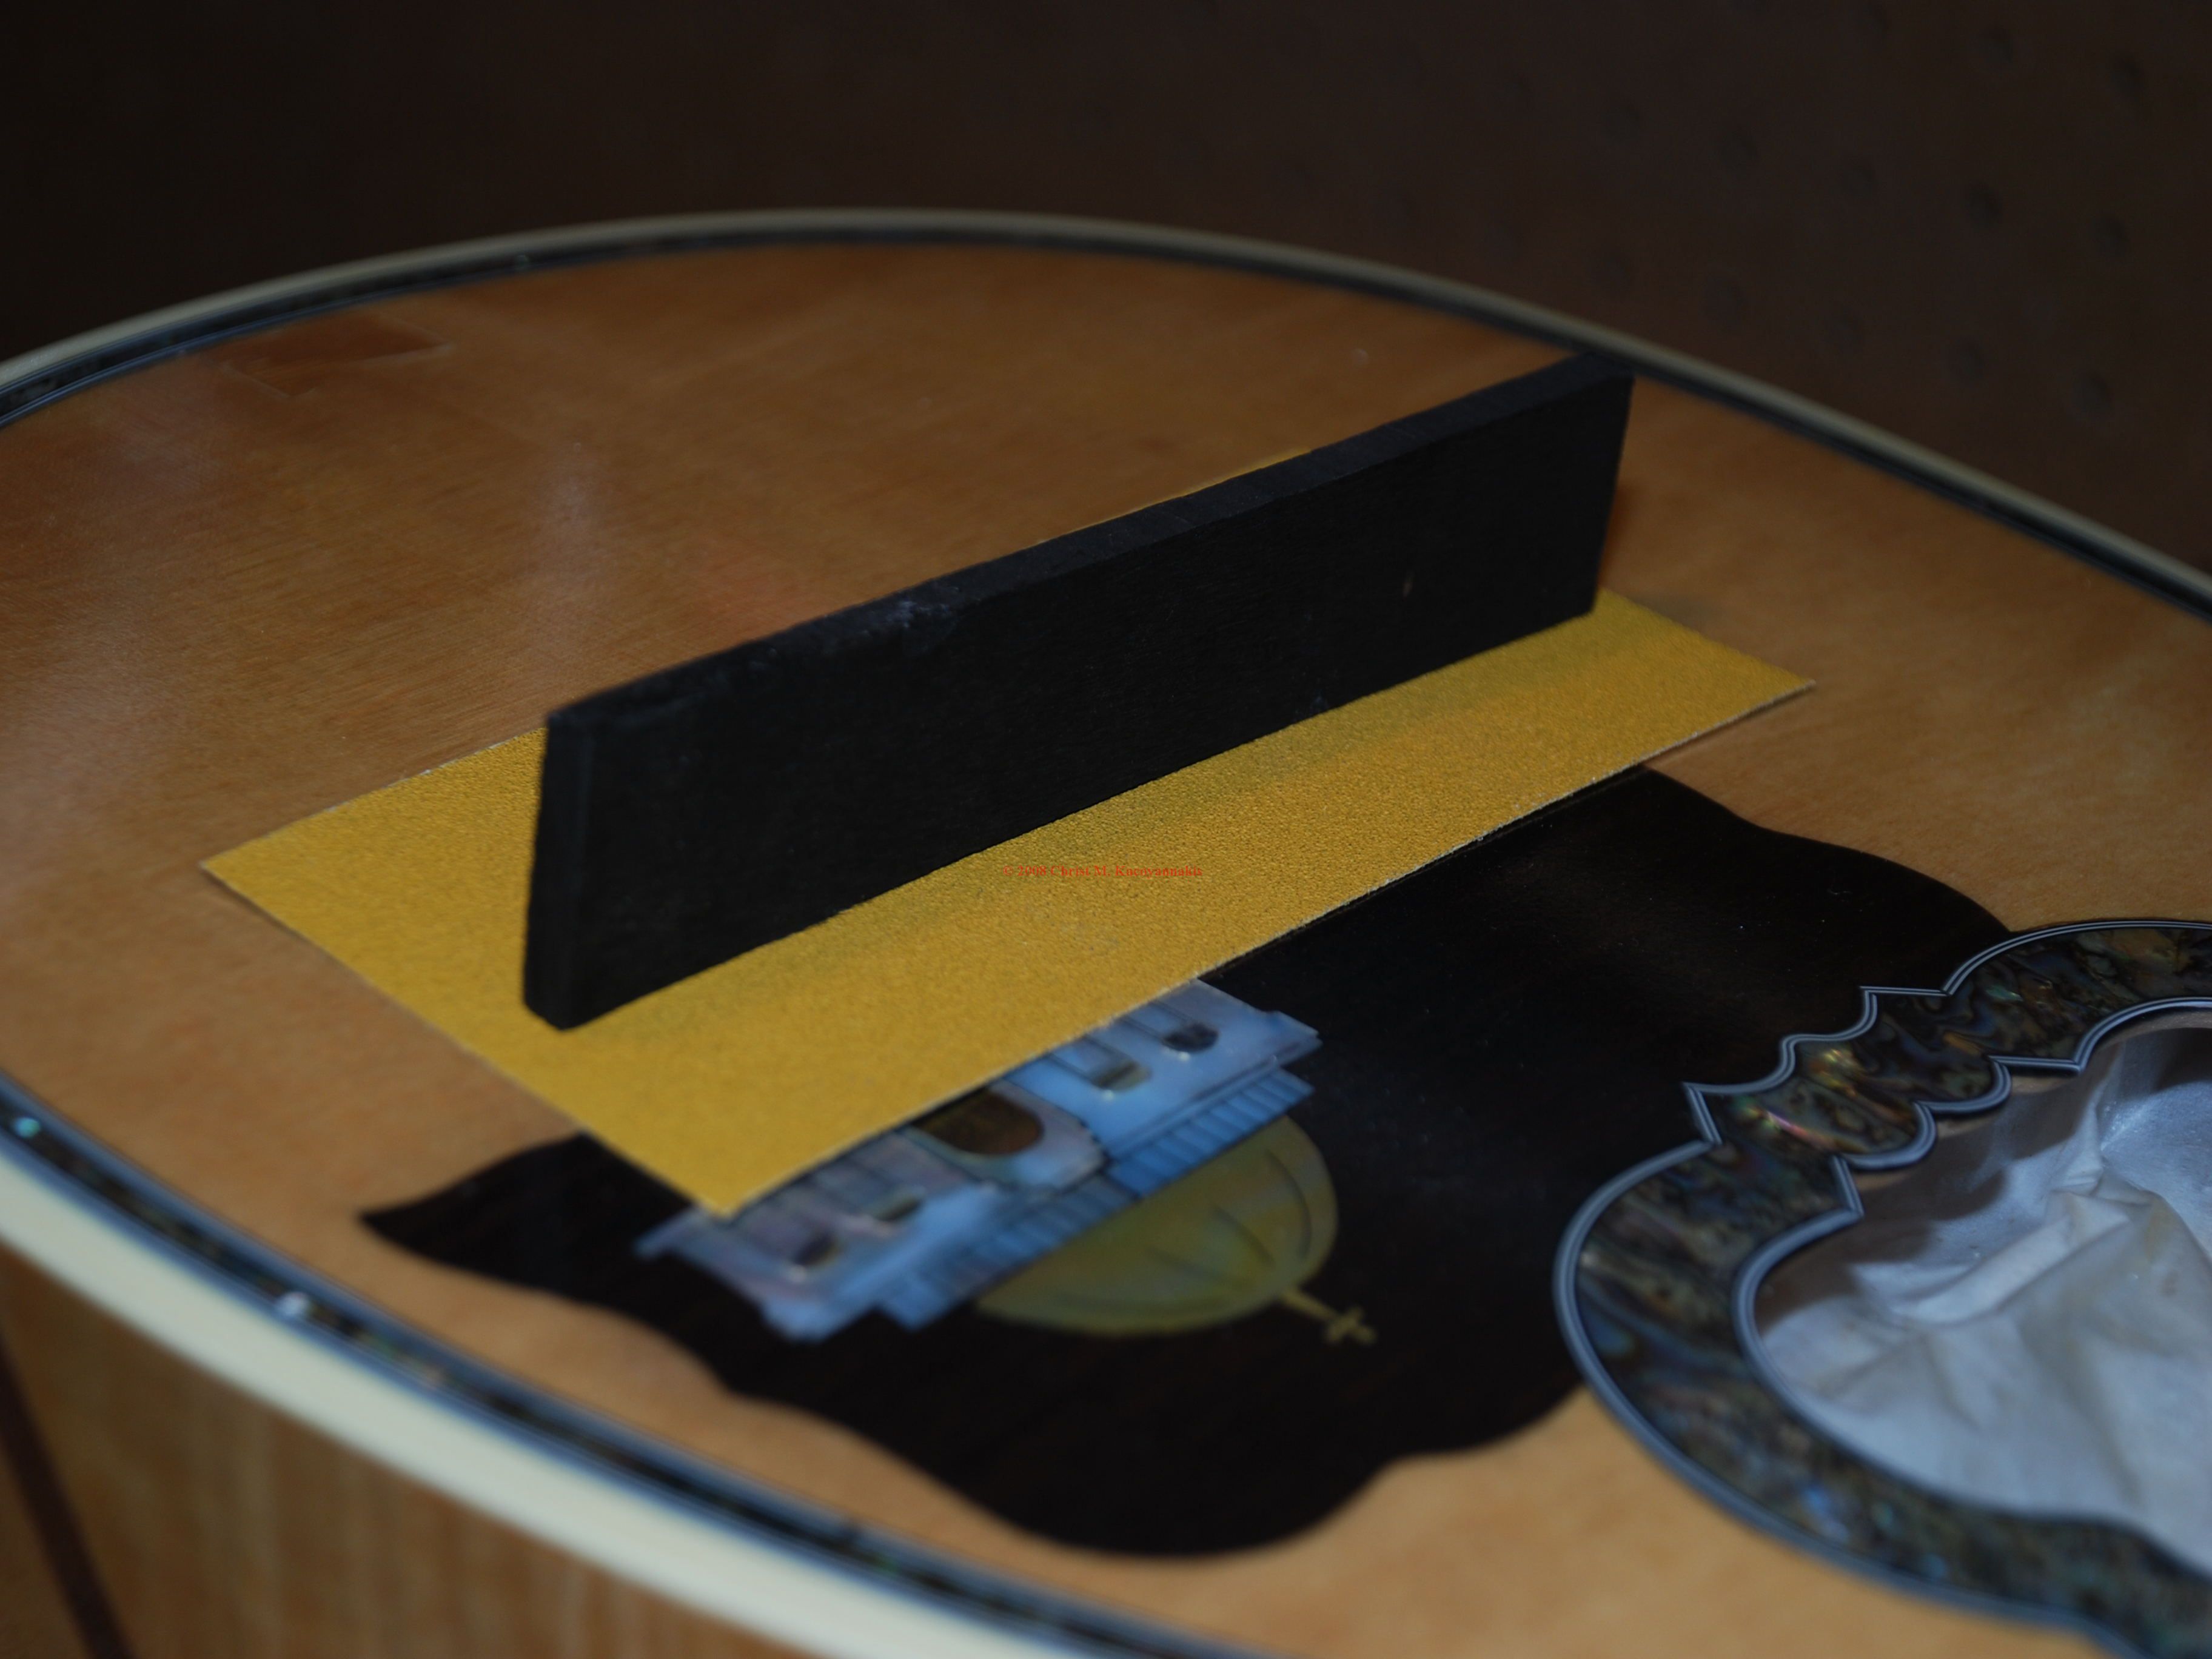
Fittle the bridge blank to the soundboard curvature

Fitting the bridge blank to the soundboard curvature

The bridge must be fitted to the curvature of the soundboard.  Place a strip of adhesive backed sandpaper on the soundboard at the position of the bridge.  Rub the bridge blank back and forth on the sandpaper until the bottom of the blank matches the curvature of the soundboard.

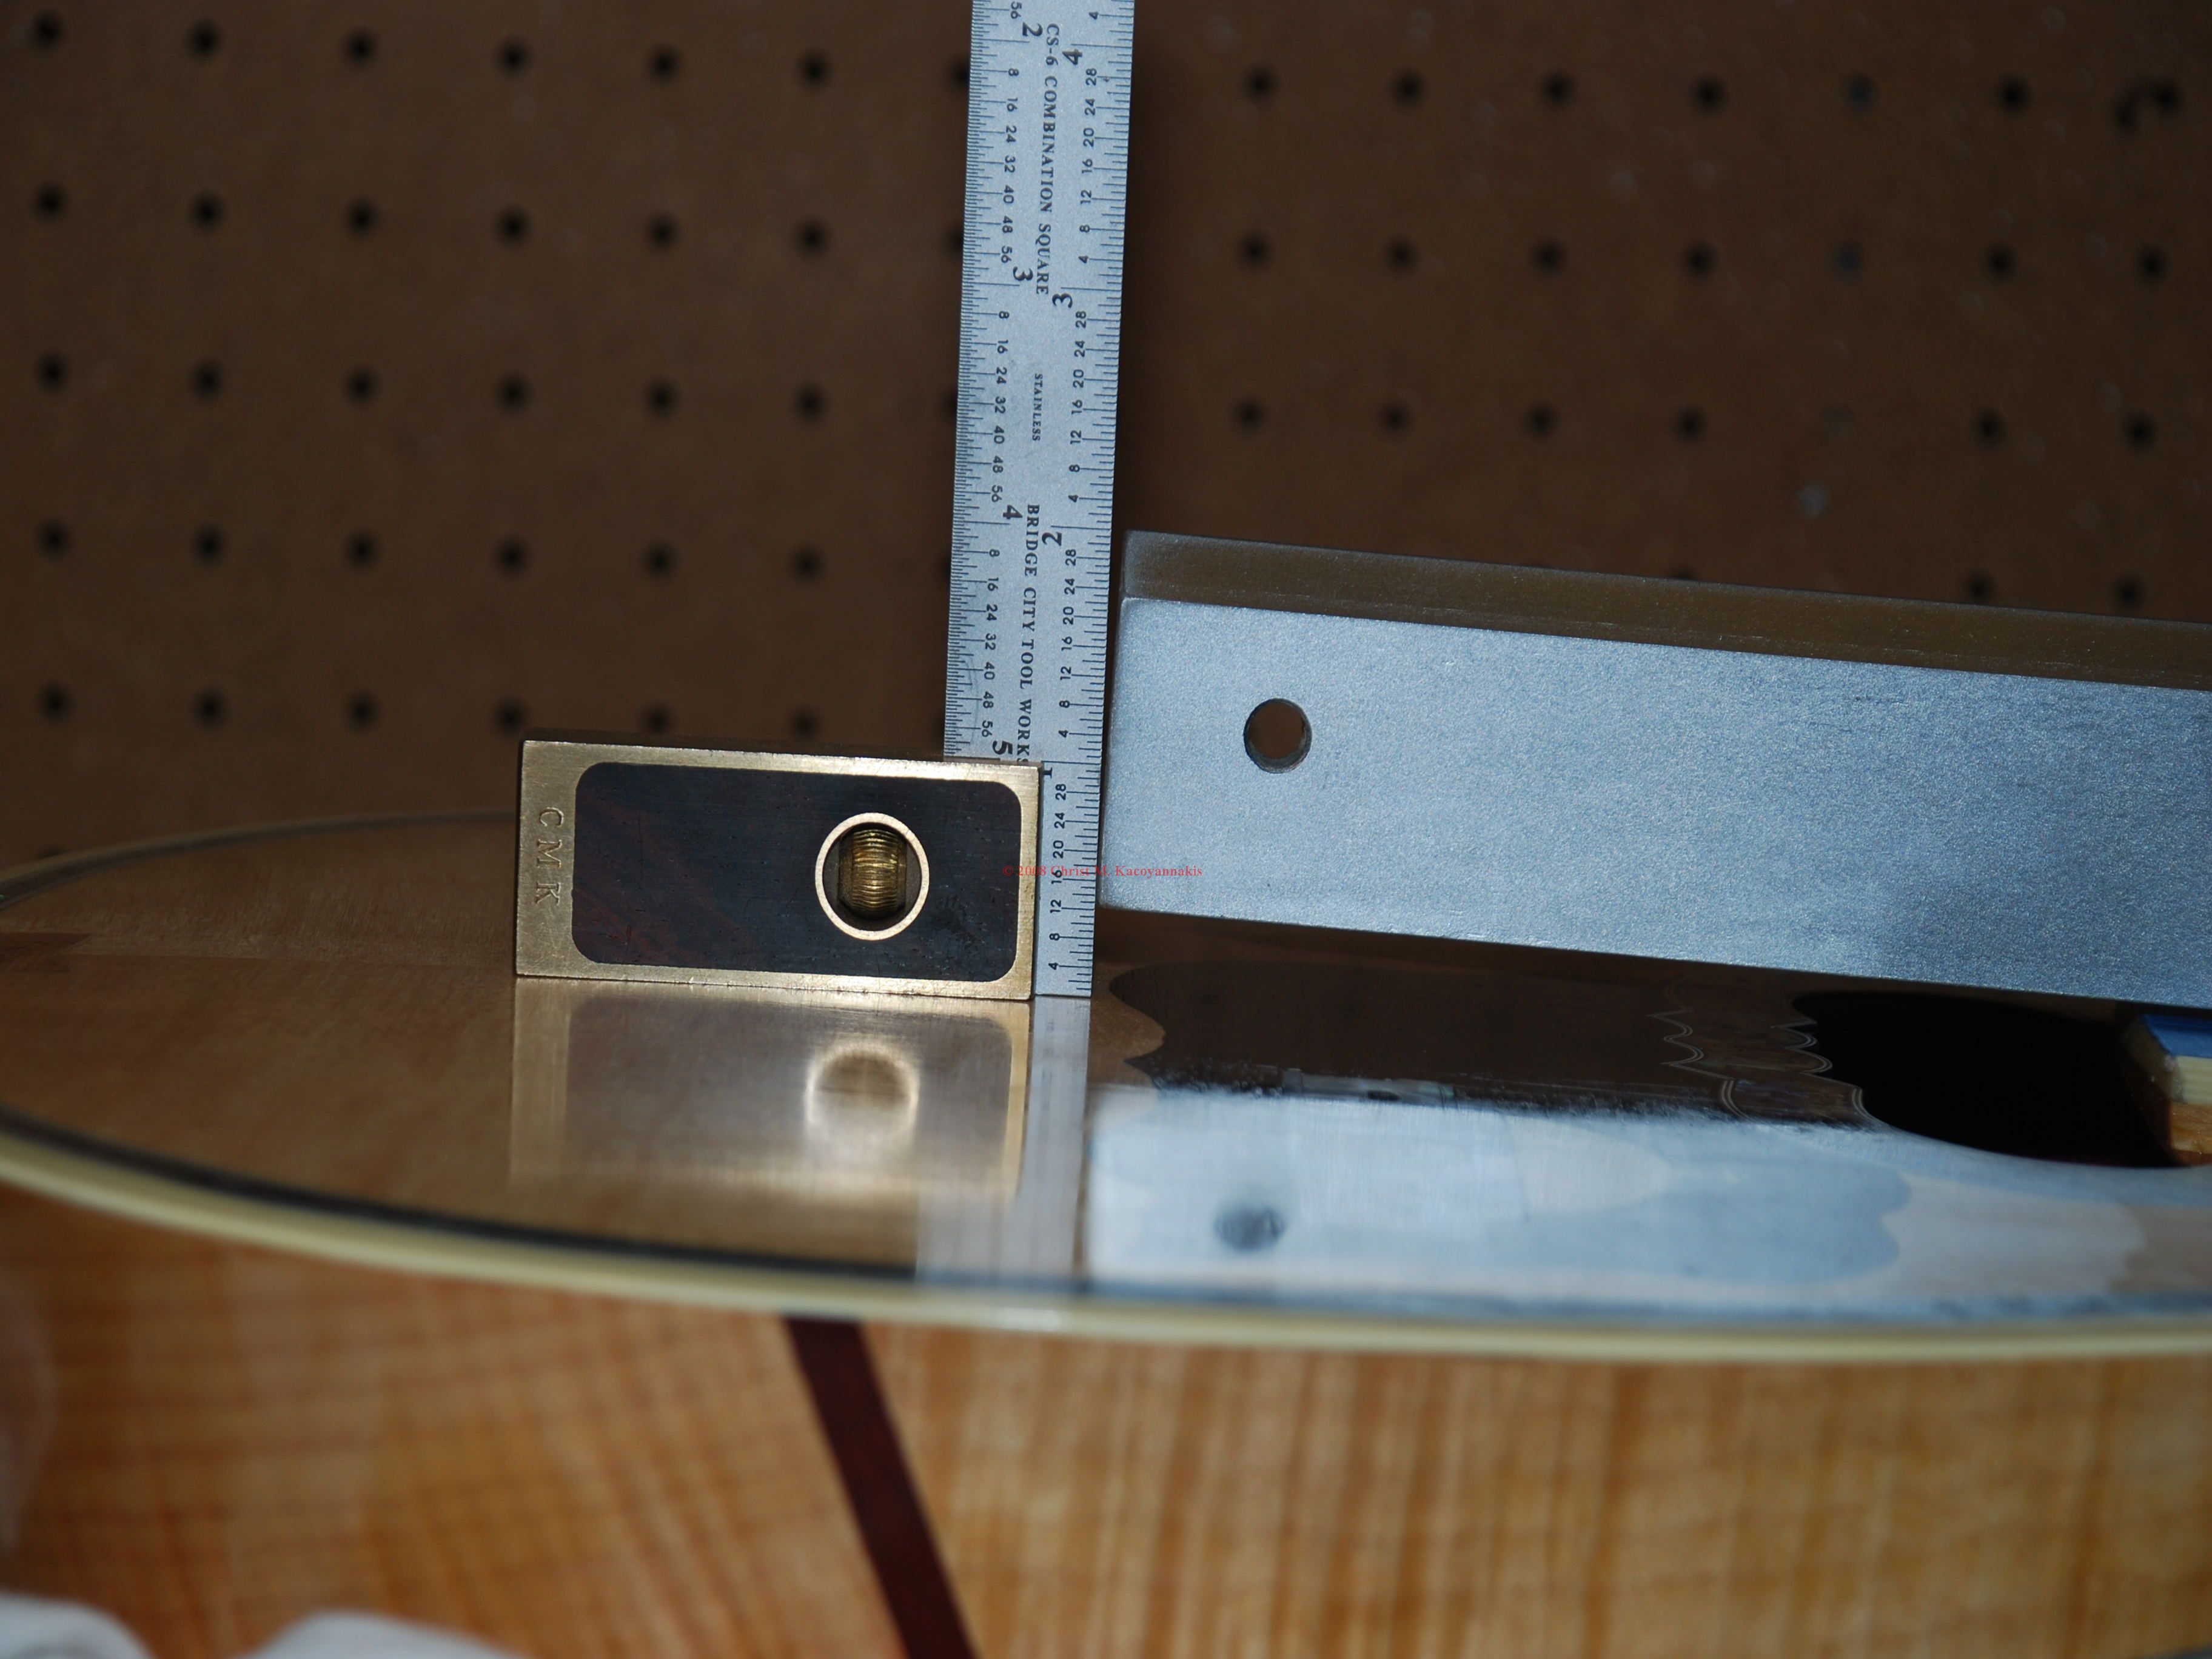
Checking saddle height

Checking saddle height

After fitting the blank to the soundboard, the blank can then be shaped and decorated to your prefered shape and level of decoration.  The string height is checked and the saddle is sanded to the correct height and then the saddle is notched to accept the strings.

Applying the Finish

Tuesday, August 19th, 2008
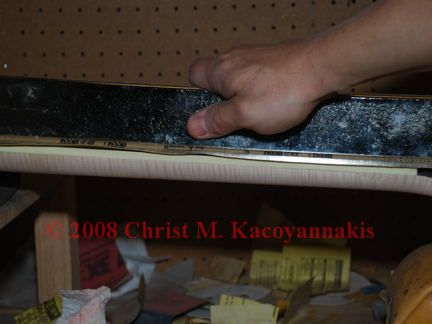
Sanding the instrument in preparation for applying the finish

Sanding the instrument in preparation for applying the finish

Once the fret work is complete, the bouzouki can be finished.  The quality of the finish achieved will only be as good as the quality of the preparation work.  The entire instrument (minus the fretboard and frets) must first be sanded.  Start with 100 grit paper, and work up to 400 grit paper.  Then the pores of the wood must be filled.  Many luthiers leave out this important step, and the finish on their instruments shows it.  After filling, the instrument is lightly sanded again, and then it is ready for the finish to be applied.

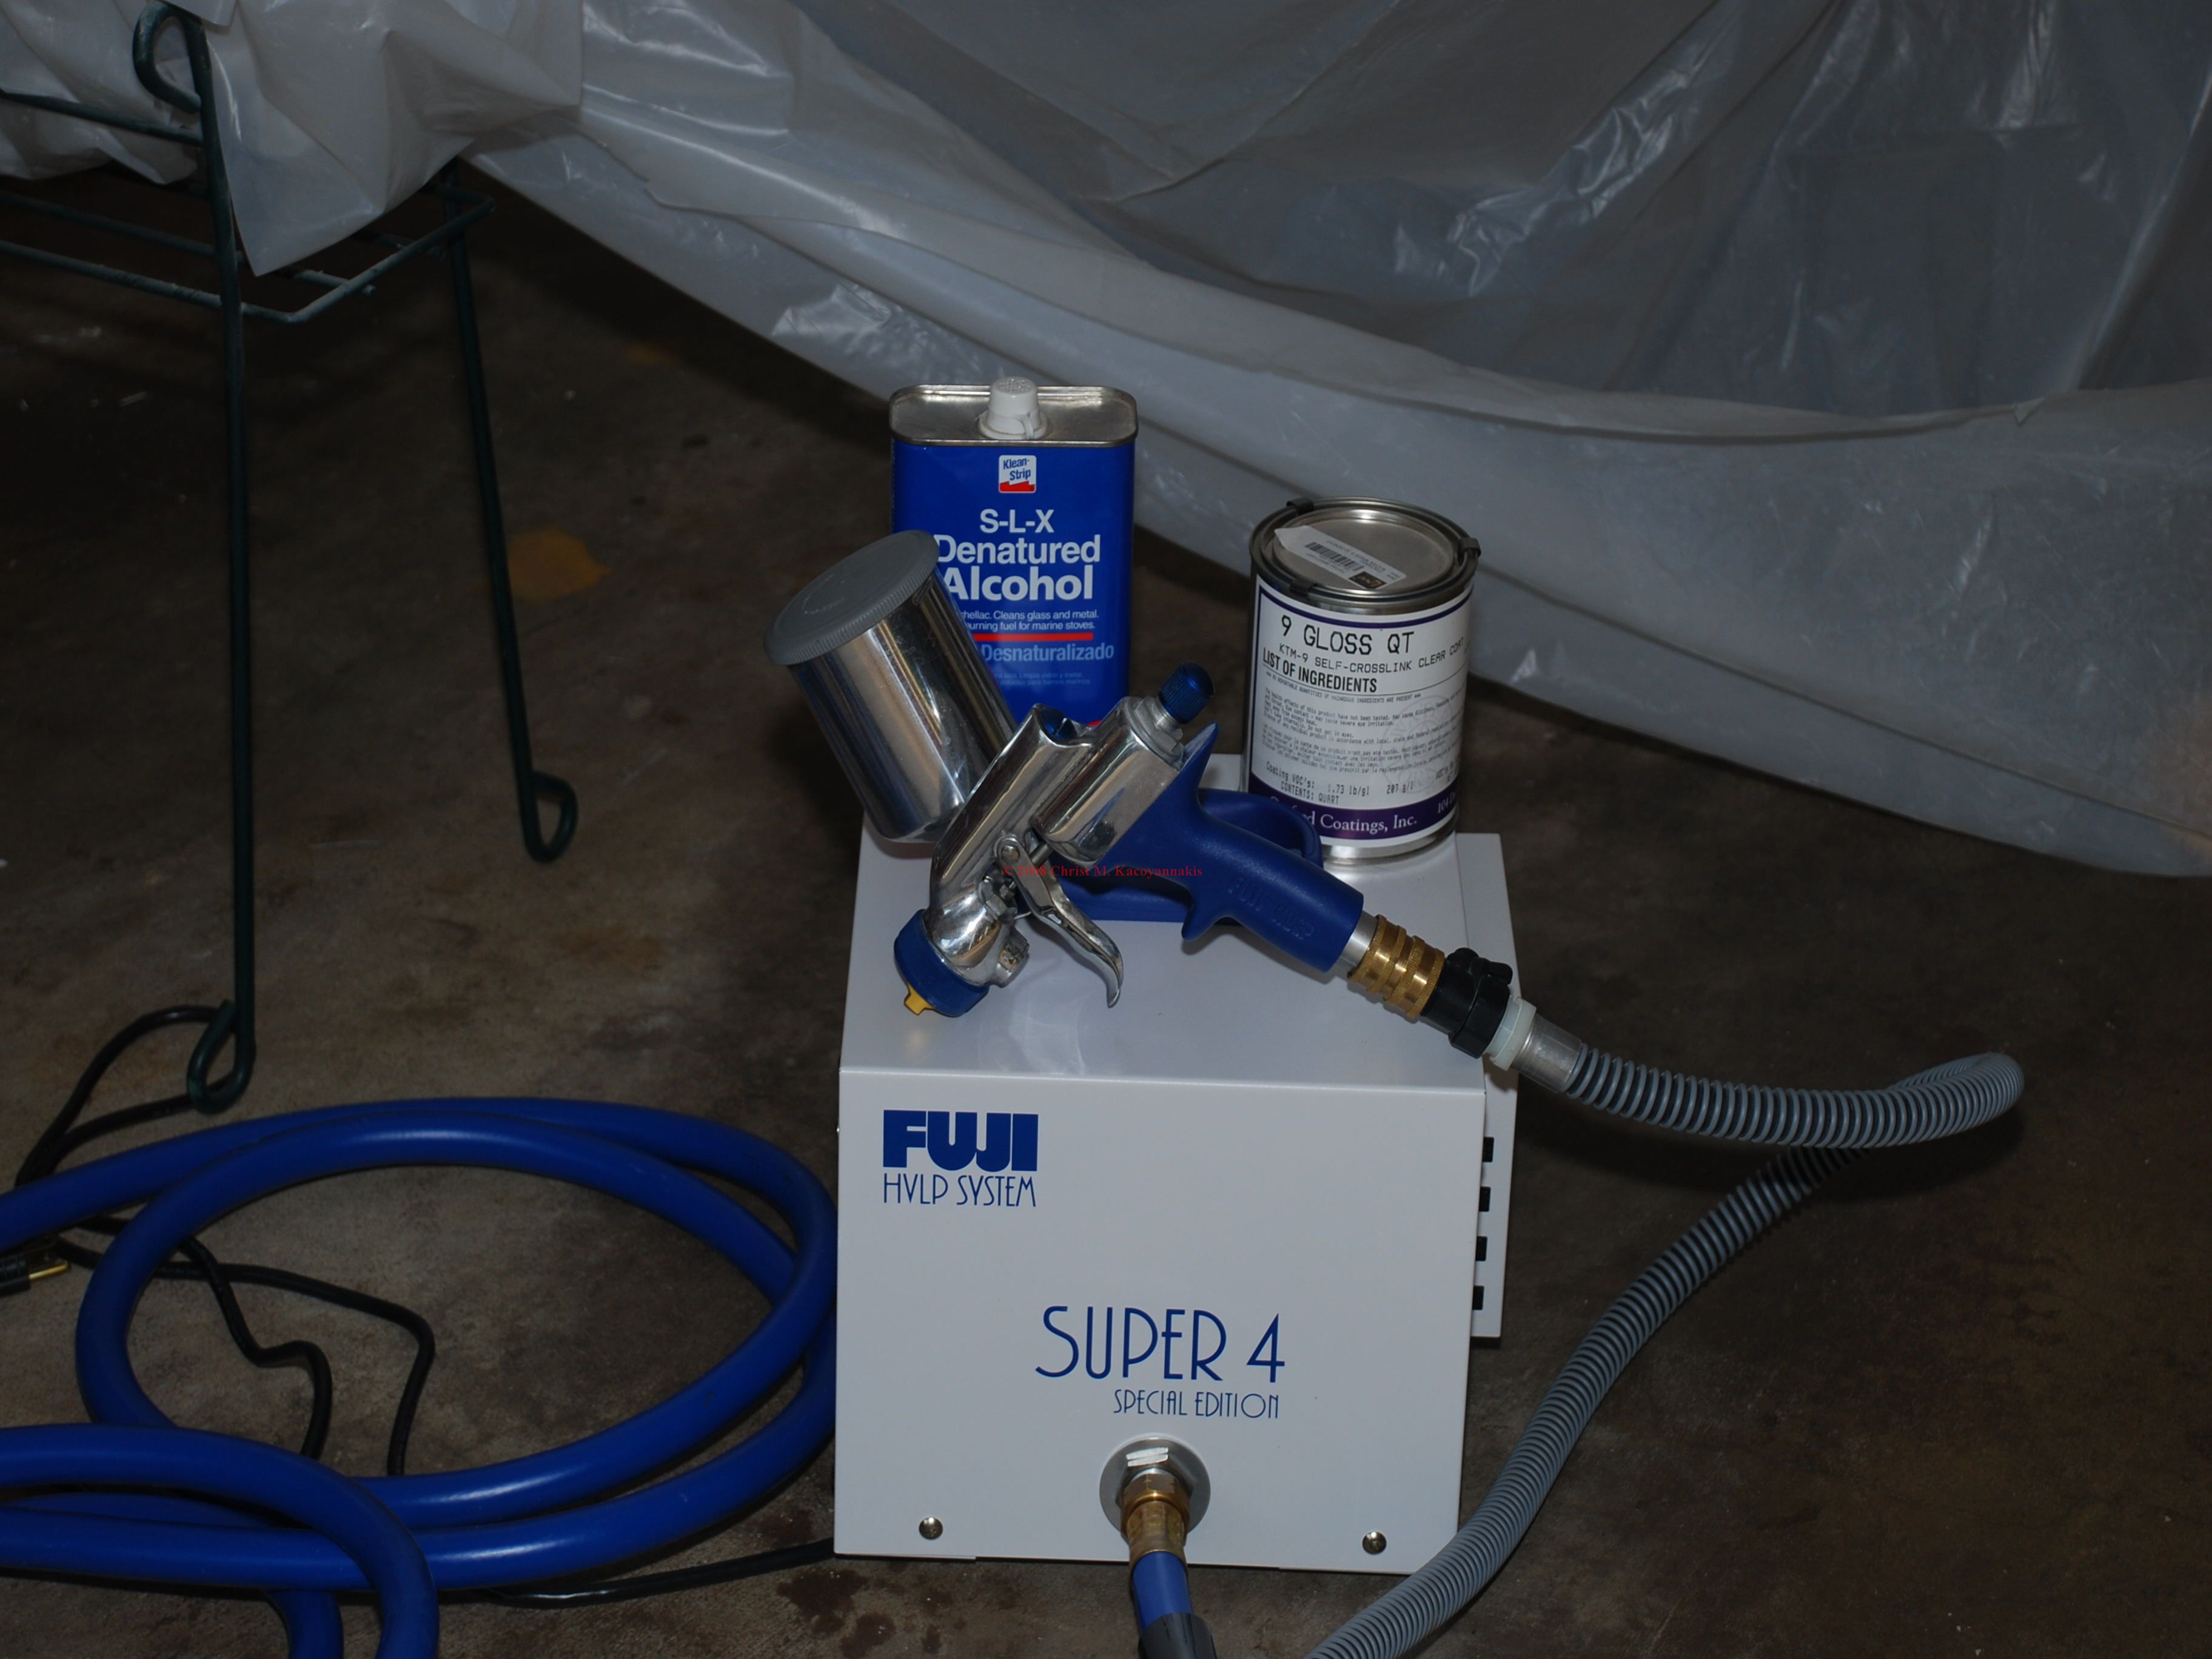
HVLP sprayer and finish

HVLP sprayer and finish

There are a variety of finishes on the market, and each has their pros and cons.  I use KTM-9 waterborne finish, because it is easy to apply and environmentally friendly.  It can be sprayed with a regular compressor or an HVLP sprayer or it can be brushed on.  Clean up is with soap and water.  After the finish is applied, the finish must cure.  Hang the instrument in a warm room with good air circulation, and allow the finish to cure for two weeks.  After curing, the finish is leveled with sandpaper starting at 400 grit and working up to 1500 grit.  It is then buffed with three different grades of buffing compound on three separate cloth buffs on a buffing machine.

Installing the Frets

Tuesday, August 5th, 2008
Level the fretboard

Level the fretboard

First, make sure the fretboard is flat after installation.  Fretwire is then cut to length for each individual fret.

Pressing the frets

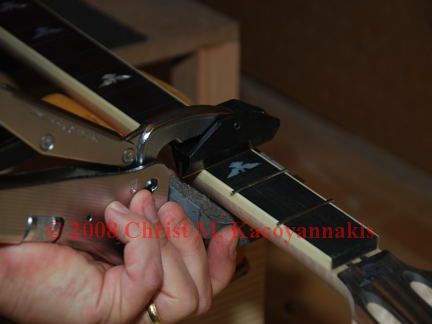
Pressing the frets

The frets are then pressed into the slots.

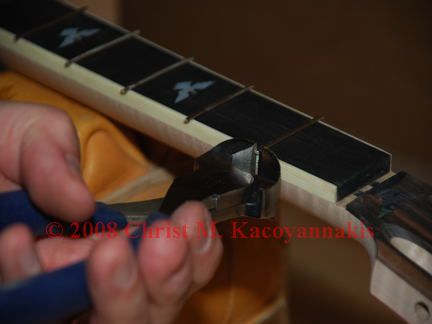
Trimming the fret ends

Then the frets are trimmed flush with the end of the fretboard and filed smooth.  The frets are leveled.
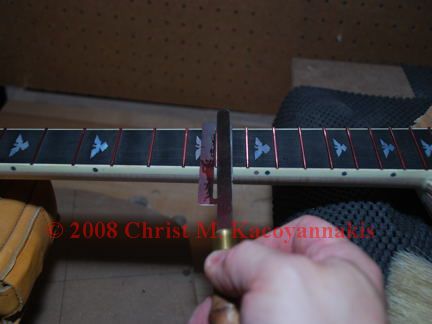
Shaping the frets

Shaping the frets

Finally, the frets are shaped and smoothed, and the fretwork is done.

Shaping the neck

Sunday, August 3rd, 2008

Trimming neck

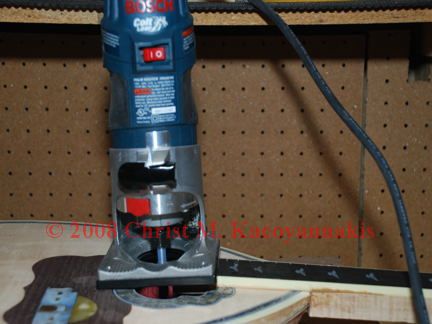
The neck is shaped to the players preferred shape.  There are different widths of necks, as well as thicknesses and shapes.  Some players prefer a very thick, beefy neck, while others prefer a very light, slim neck.  First, the neck is trimmed flush with the fretboard with a router and flush cutting bit.

Shaping the neck

The neck is preliminarily shaped with a quarter round shaping bit on the router table.  Then, the bouzouki is placed on the neck shaping jig, and the final shaping is done with rasps and spokeshaves, aided by a neck template.

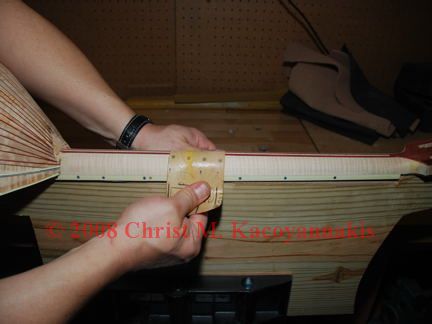
Sanding the neck

Final shaping of the neck is done with a sanding block rolled over the neck from side to side to eliminate any high spots and smooth out the contours.  

Sanding the neck

Final sanding is done with sandpaper strips.

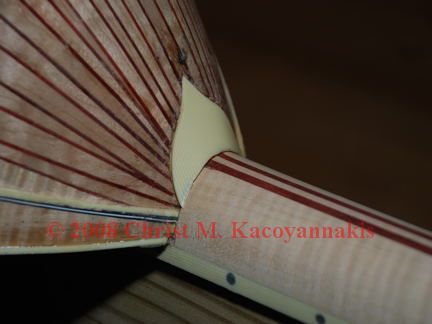
Neck cap

Finally, the neck cap is added to the body at the neck joint.

Glueing the fretboard to the neck

Saturday, August 2nd, 2008

Glueing the fretboard

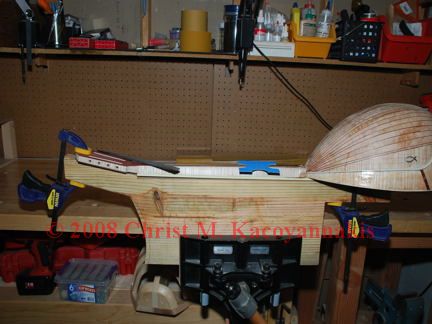
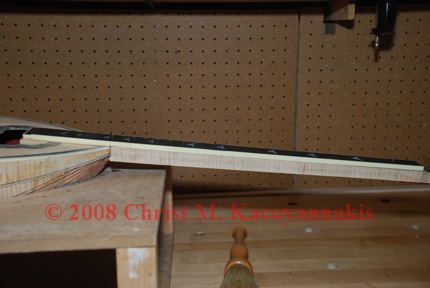
The fretboard is glued to the neck with instrument maker’s glue, after the neck has been cut down so that it is slightly oversize.

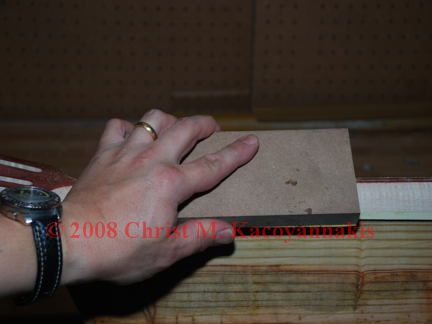
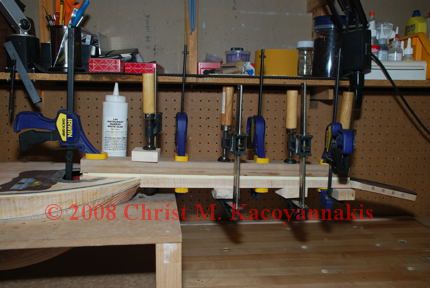
Clamping the fretboard

A board is placed over the fingerboard to spread the pressure from the clamps and to protect the wood from being marred by the clamp heads.

Visual Design by Logo design by The Logo Loft The Logo Loft